
Summary
A question I commonly get is, how do I choose the best underwater camera for me? If you plan to do lots of snorkelling and want to get into photography, then either a smartphone housing or Olympus TG7 (probably the latter) will suit you well. If you want to go further, you will need to add components onto this, to incorporate lighting. Action cameras are generally unsuitable for most of the guests on my snorkelling and diving trips and I recommend taking advice before spending a few hundred dollars. What level of setup suits you, depends on your individual needs, purpose, skills and photography experience. DLR/DSLR options are really only suitable for advanced divers and experienced photographers. Here I introduce some of the options concepts around smartphones and compact cameras, so you can be informed before you take advice on what to buy.
Introduction
These days there are lots of options. Because of weight of advertising, most people believe in getting an action camera like a GoPro / DJI. But these are not generally great for snorkelling / diving.
My best advice is to call Tim Hochgrebe / Phil Gallagher at Underwater Australasia on +61 (0)2 6680 9410 / +61 (0)2 6601 9074 / Mob: +61 403 803 083. They also have a shop in Byron Bay if you happen to be passing.
Tim has been selling and advising people on underwater gear for decades. In my opinion, there are no other better specialists in Australia. They will be able to match your needs, interests and skill, to the setup that suits your budget. I find that in most cases, guests who get an action camera can be disappointed and replace them after the first trip. So you almost always save money if you take advice from an expert first.
To help you along the way, I’m going to summarise a bit about the options. This will help you understand some of the variations and terminology, before you talk to an expert about what to buy. If you want to delve a little deeper, the latter part of this article explores some of the setups you might consider. A single light option is often a good starting point for most users.
What types of underwater camera exist?
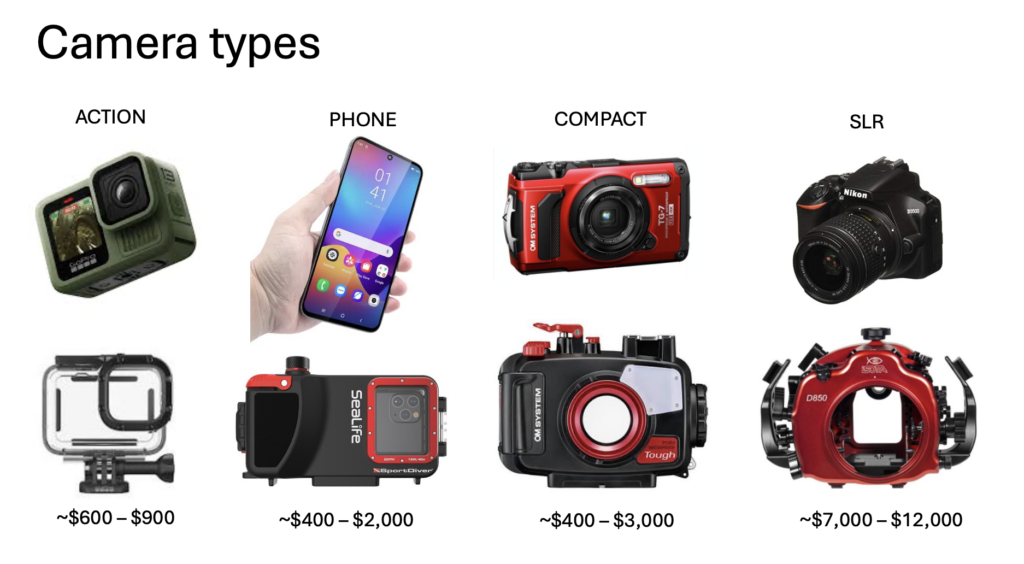
There are essentially four common types of camera setup that become progressively more complex and require greater skill to operate. Each of these can be augmented using lenses and lights. We will come to that later. Here are those types:
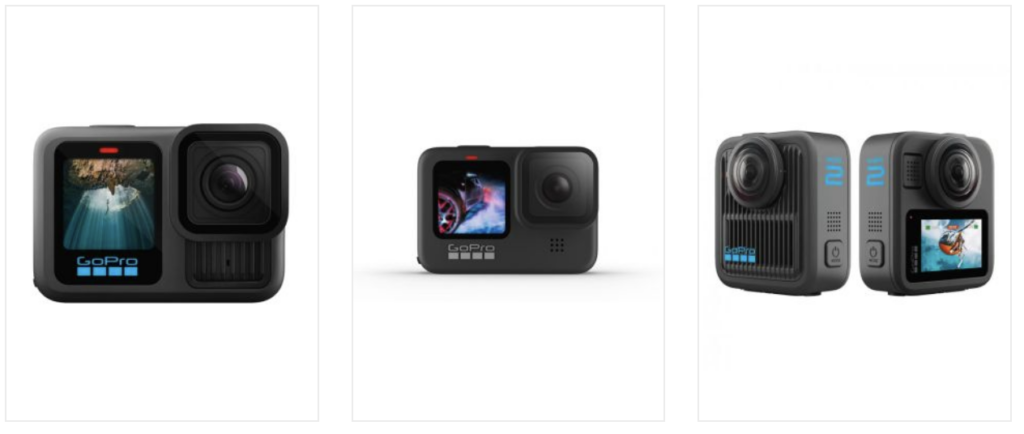
Action cameras for underwater photography
These are most suited to wide-angle video at the surface. If you plan to record scenery like reefs, or videos of large animals like mantas and whale sharks, these will be suitable. They are not good for taking photographs and do not offer the chance to ‘zoom’ in or do close up. While you can get lenses to add for smaller subjects, these are difficult to handle as a snorkeller and you should probably consider other options.
Smartphones for underwater photography
Recently the housings for smartphones have become more sophisticated. Housings can be bought that are rated to 40m. If you’re taking your precious phone into the water, you don’t want to risk flooding it, and being left without a phone for the rest of your travel. So, it’s important to buy something that’s robust and fit for purpose.
Smartphones offer the chance to zoom using their inbuilt lenses. Modern housings allow all the functions to be manipulated underwater using touch-screen. Which means you can take photos and video. The phone’s HDRMeans High Dynamic Range. Your camera effectively takes a series of shots at different exposures and merges them together, so the shadows are lightened and the highlights are reduced. More technology is quite advanced, which means colour balance and contrast tends to be lovely. If you’re not fussed about using your photos for publishing, these are great options. The video, however, is pretty amazing. Even some semi-professional videographers are now preferring these options, as they are lightweight and the quality is great.
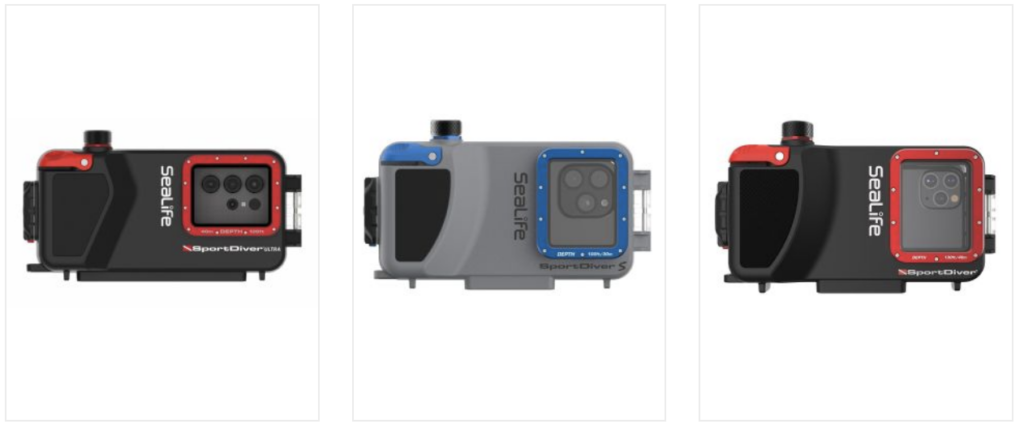
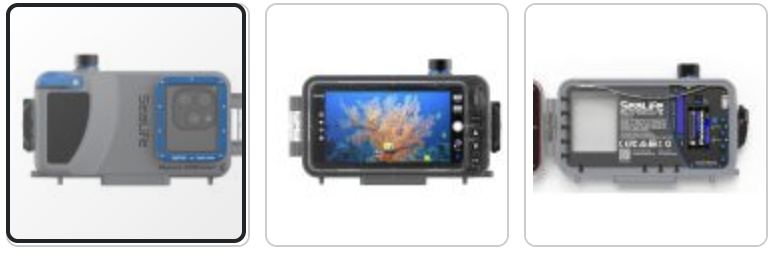
Here is one example.

Compact cameras for underwater photography
There are lots of compact cameras on the market. Most of them aren’t waterproof but you can get housings for them.
Among the best, is an immensely sophisticated camera, the Olympus TG7.
Unlike most other compacts, even without a housing the TG7 is waterproof to 15m (though constant use for months on end will eventually wear the seals on the battery housing and cause malfunctions). With a housing (we will come to that later), they are rated to 40m. Note, even if your housing floods on a dive at 25m, the TG7 is usually robust enough to survive. This is not the case for other compacts as they are not waterproof.
Even on ‘auto’ mode, these provide fantastic results in both photos and video. Though note, for pros … they are only 12MP resolution. For comparison, my Sony RX100VA compact is 20MP (see later). But unless you are planning to use the photos in large format or publishing, you won’t need this extra resolution.
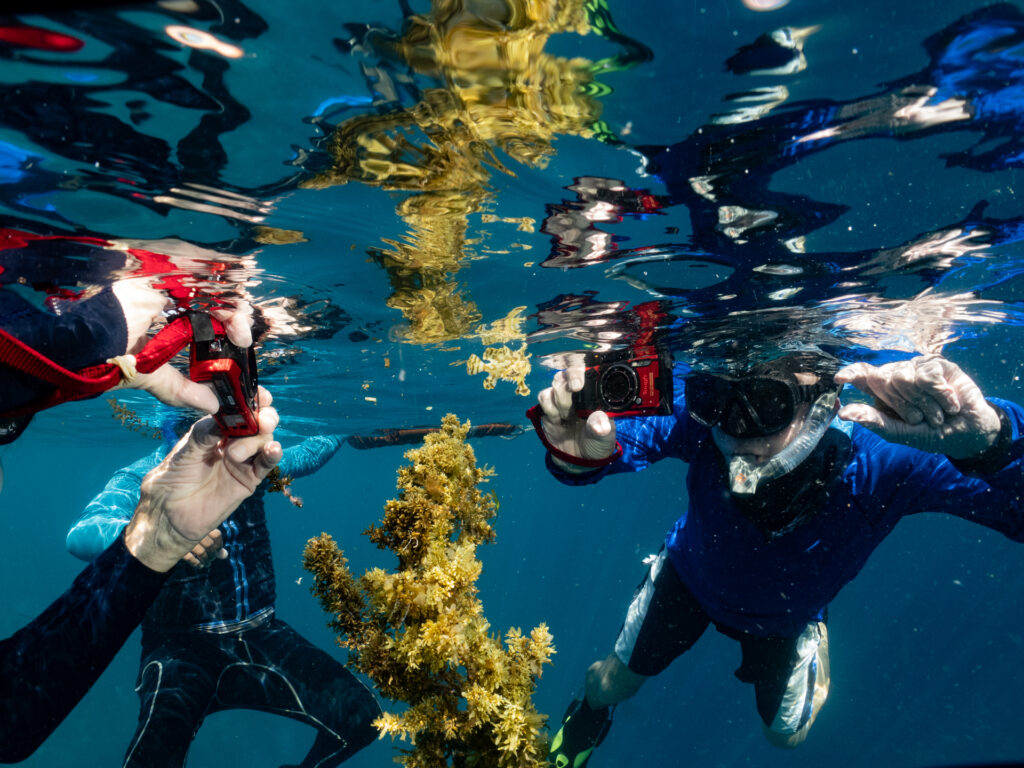
Almost all my regular guests use the TG7. They are robust and simple to use on auto for the amateur, or advanced settings can be used by pros. TG7s also have an amazing zoom range and incredible macro function(Of an ecosystem). A subset of ecosystem processes and structures, where the ecosystem does something that provides an ecosystem service of value to people. More for close up subjects. They are a bit limited on the wide angle side unless you are using a housing and wide angle wet lens (see below for options) but that doesn’t affect most amateur users.
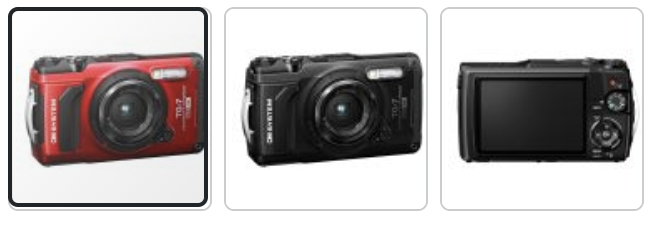
They are also sophisticated enough that they have similar manual options to SLRs. Professionals and semi-professionals use these cameras to produce award-winning photos. So, if you’re looking to progress your photography from basic to advanced, this is a camera that you could use for years and never stop learning all its functionality and versatility.
SLR/DSLR cameras for underwater photography
The final category includes the large SLR or digital (D)SLR cameras. I am not going to explore those here. Suffice to say, these are the most complex option. All of them require large, heavy and expensive housing that require ongoing maintenance.
The biggest drawback is you cannot put lenses on the outside. The lenses have to be fixed as either close-up or wide angle, before you enter the water. To handle a setup like this generally requires peak buoyancy and a sophisticated understanding of camera use. Once again, the team at Underwater Australasia can advise if necessary.
Summary of the best underwater camera options for you
In summary, if you’re looking for video of reefs in wide angle and not worried about photos of animals (other than huge ones), action cameras are fine. Otherwise:
- Smartphones are brilliant for video and very good for photos with the disadvantage that you have to take your phone underwater. Nevertheless, this is a great option for most snorkelers and many divers. People who get the smartphone housings for snorkelling are usually delighted with what they can do.
- Compacts, particularly the Olympus TG series cameras are brilliant and still represent the best value entry point for almost any snorkeller. For divers, they need a housing to exceed 15m depth. Most of my guests who buy the Olympus TG7 are extremely happy, whether snorkelling or diving.
- SLR/DSLR options are really only suitable for advanced divers and experienced photographers.
- I would say 95% of the time, the smartphone and TG7 options are the best starting point but if you are going to snorkel regularly, I would edge towards the Olympus.
More advanced underwater photography setups
This is an introduction to more advanced set ups. It’s quite likely that you’re going to want to get lights at some point. It’s not a bad idea to begin with a tray and one light to give you a bit more control.
I shoot with a Sony RX100 series compact inside a Fantasea underwater housing. Unlike the TG7, my camera is not waterproof at all. Because I dive, I need lights and I’ve added floats to compensate for weight. I also carry several different lenses. This is where things become a bit more complicated. I did not start with a full system, I built up from one light and learnt by doing, before adding more complexity in stages.
Let’s step through the stages of increasing sophistication of setup.
- Adding a housing
- Adding lenses
- Adding a tray and one fixed light
- Adding a tray and two lights
- Adding a tray with at least one strobe (flash)
For this, I’m going to show you the set up for the Olympus TG7 but the same general structure applies to any camera type. You can add lenses, housing, trays and lights to action cameras, smartphones, compacts and SLR/DLSRs.
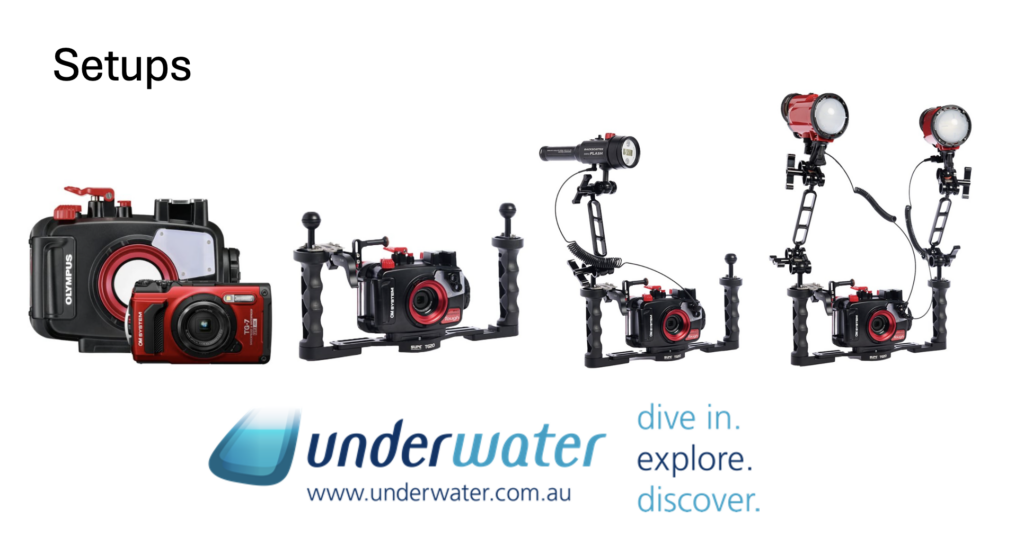
1. Adding a housing for your underwater camera
If your camera isn’t waterproof; isn’t rated to the depth you want to take it; or you just want to be sure it’s more water-proof; then a housing is either essential or advisable.
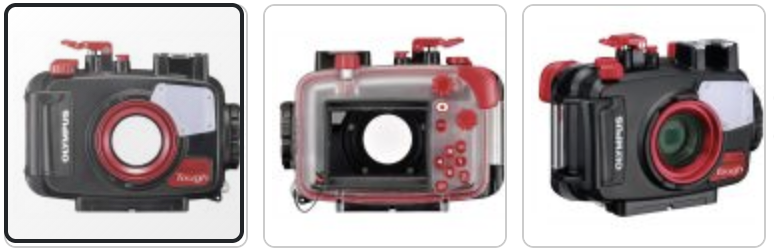
Housings have buttons on the outside that correspond to your camera’s functions (or in the case of smartphone housings, they allow you to use the touchscreen).
2. Adding lenses to your underwater camera
Once you have a housing for your compact camera you can fit lenses to the outside. These are called ‘wet lenses’.
[Note, in the case of SLRS/DSLRS, these lenses are dry lenses, fitted manually to the housing itself, before you enter the water. I’m not going to explore this option more here, as it’s generally applicable to pro users.]
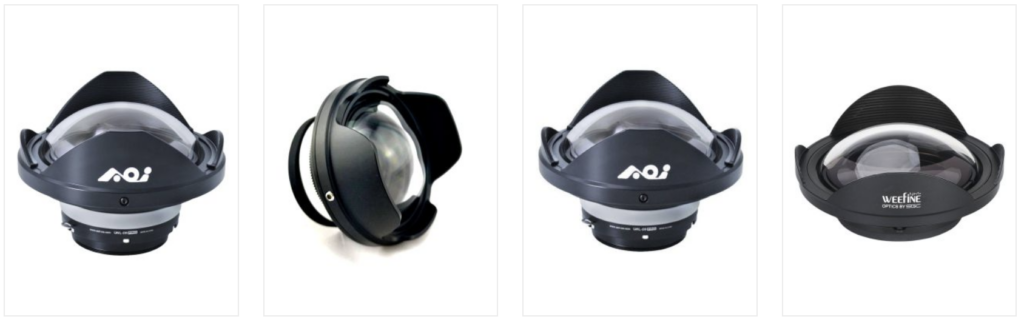
Wide angle
Wide angle lenses allow you to capture a wider field of view. This can be important underwater, as because light travels differently, the camera is a little more tunnel-visioned than it is out of water.

Close up
Close up lenses act like telephoto lenses. They let you do smaller subjects. But they require a bit of learning because they have a fixed magnification and you can only focus within a certain minimum and maximum distance. Here’s a review I wrote for a couple of such lenses.
Good news for Olympus TG7 users is that the built in zoom is usually sufficient for most small subjects, so you probably won’t need these. If anything, only the wide angle lens is ever needed for more versatility. But most of my guests find they are quite happy even without this and to just zoom out. The same goes for smartphone housings.
In summary, if you’re using a smartphone or Olympus TG7, a wide angle wet lens is an option but initially, most users are happy without.
3. Why you need lights on your underwater camera
Light disappears fast underwater, beginning with red light. This is why the sea appears blue. If you start taking photos by duck-diving or scuba-diving, you’ll soon start to realise your deeper images lack saturation.
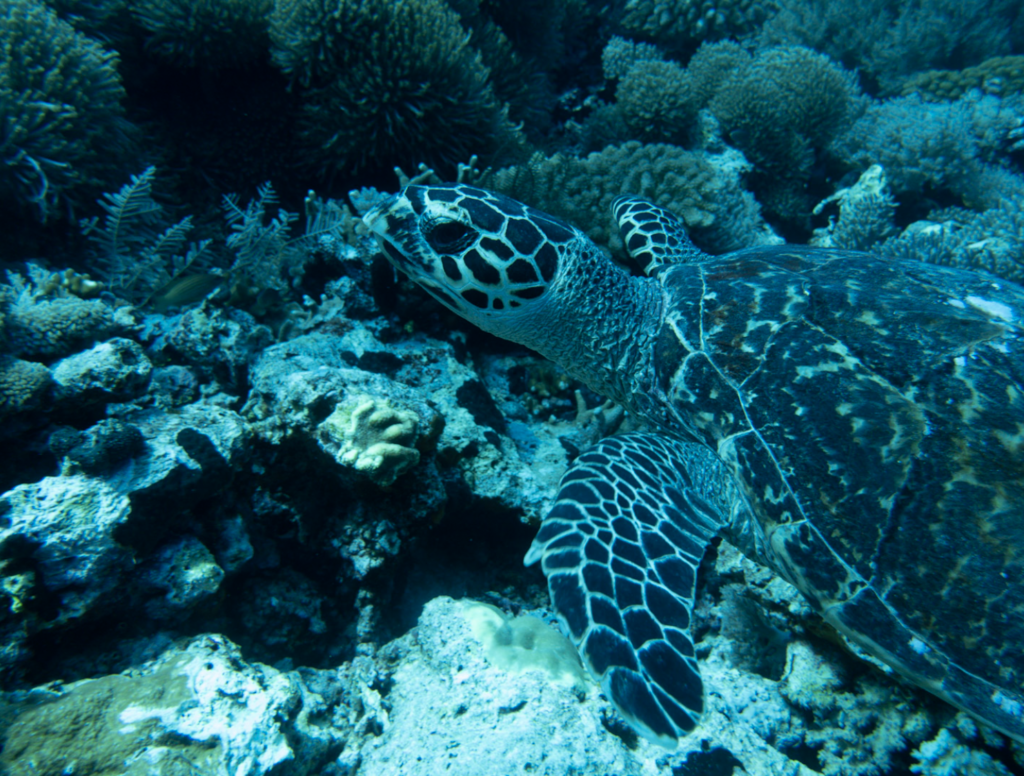
While the TG7 has a ‘fish’ mode, this is a double-edged sword. It adds red back into your photos artificially. This is okay when you dive to a few metres but it ruins photos at the surface as it overcompensates, making your photos too red. My best advice is to never use this setting if you’re snorkelling and only take photos nearer the surface using auto white balance. That way you are making the best use of natural light without pushing your gear beyond its limits.
Whether you are a snorkeller or diver, are two reasons to have some extra light in photos.
- One is to fully illuminate subjects when it’s dark; and
- the other is to add ‘fill’ when it’s too bright.
Compensating for shadows (adding fill)
It may seem counterintuitive to add light in bright conditions but your camera, will compensate by reducing the lighter areas, making the shadows darker. You use artificial light to put light into the dark foreground shadows, leaving the background to be lit by natural light. For this, you would generally use a strobe (flash).
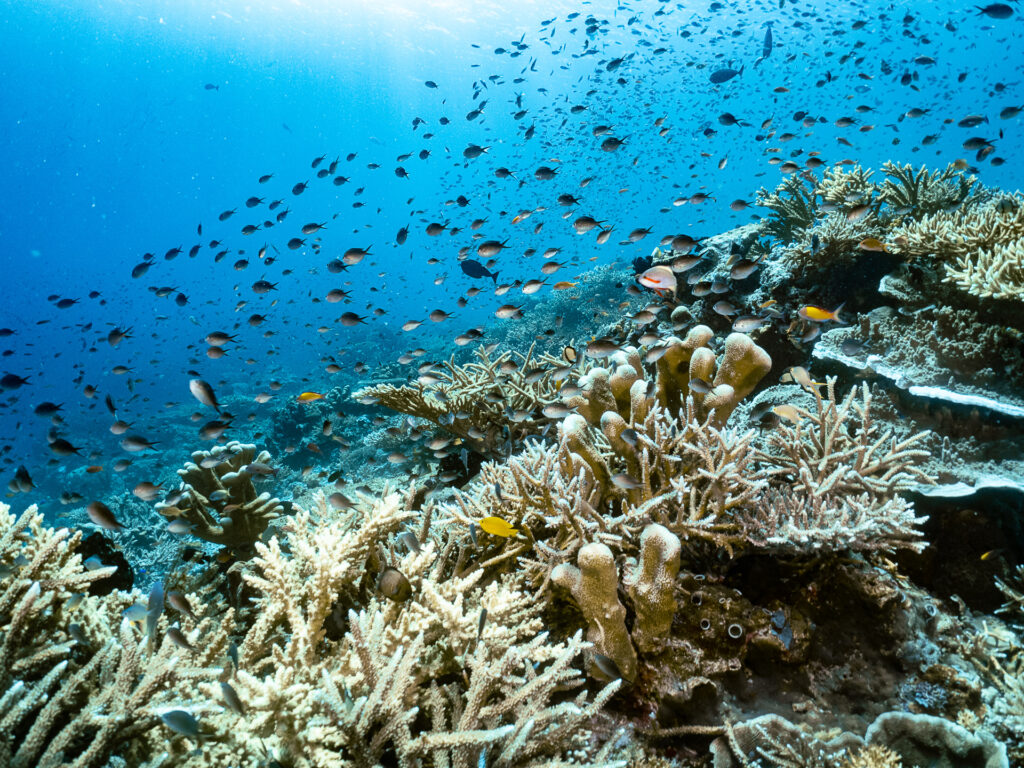
The other way to do this, is to take your photos at sunrise / sunset then the light is low and the reef is lit more evenly, with the background. You can do this without lights.
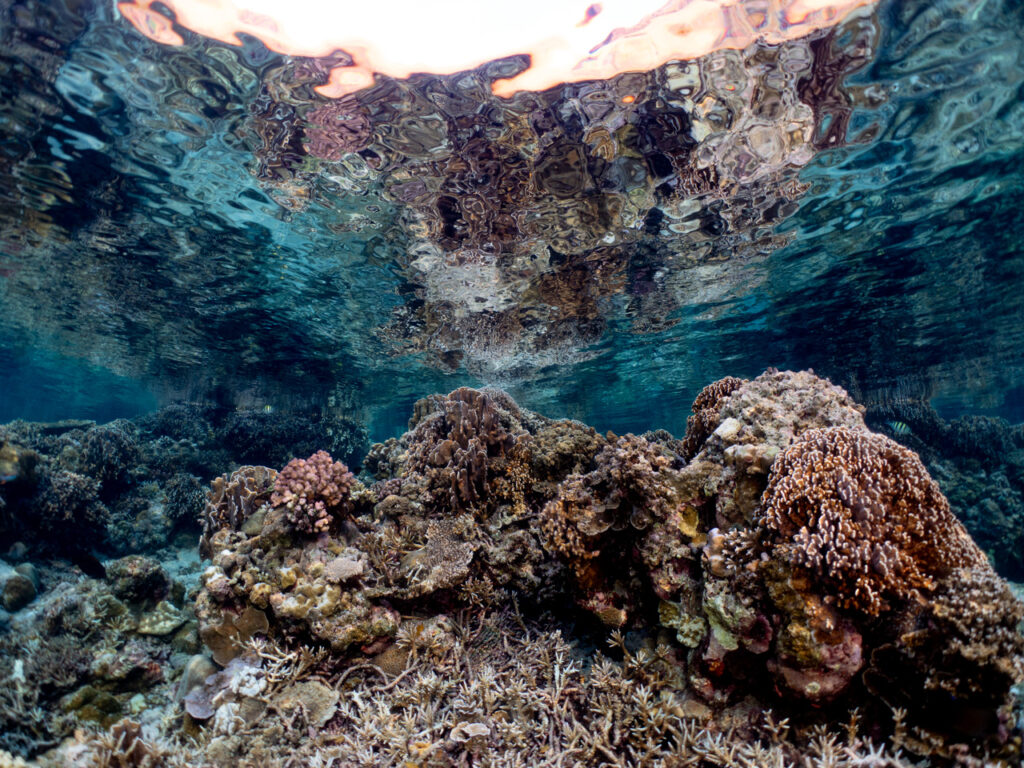
Recreating light in dark situations
More commonly, however, you may want to photograph small subjects, either:
- in the dark (especially if you are a diver); or
- because you’re snorkelling and photographing a subject close up and need extra light to compensate for shadows. This is almost always the case during the middle of the day, when the sun is highest.
- Or, when you are snorkelling and duck diving to 2-3m and just want a bit more colour from a small subject (your eye tends to see this but the camera doesn’t pick it up well without some help).
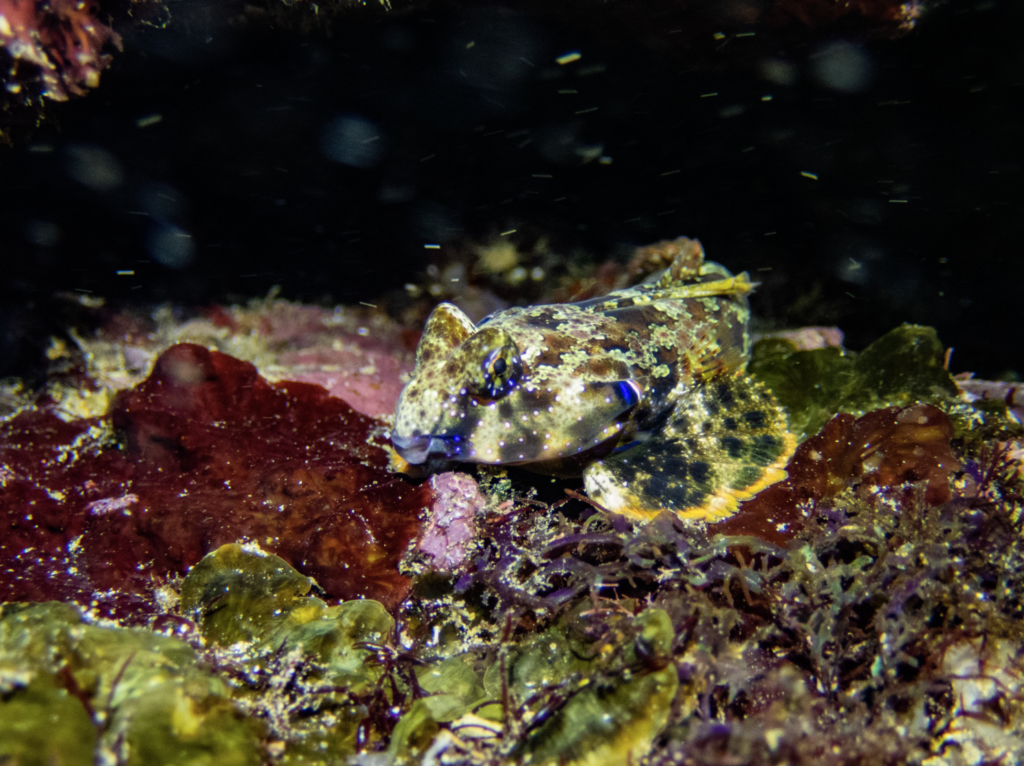
Buying multiple lights / strobes presents a learning curve so you might want to start simple.
I started with one fixed light to get lovely photos of nudibranchs and the like. Then I added a second fixed light, before moving to strobes (flash). I am going to step you through this progression, as it is a good way to learn step by step.
3a. Adding a tray and one fixed light
One fixed light allows you to illuminate a subject from the front. Or, if you like to try a ‘snoot’ attachment, you can spotlight it from above, for those photos with a black background.
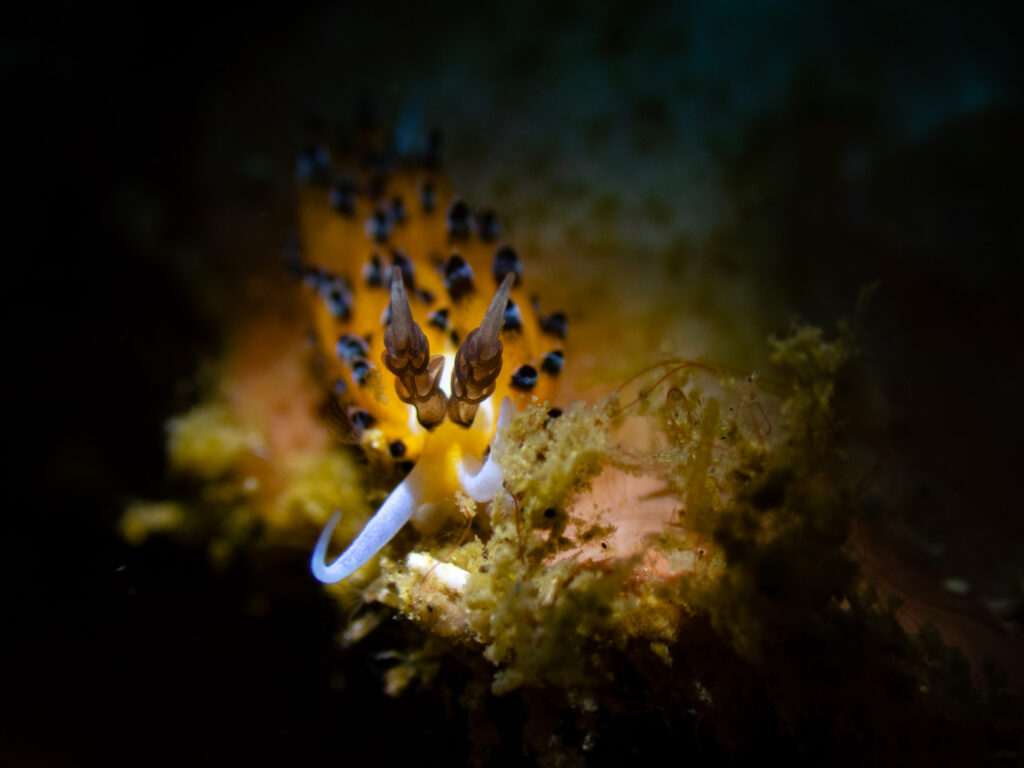
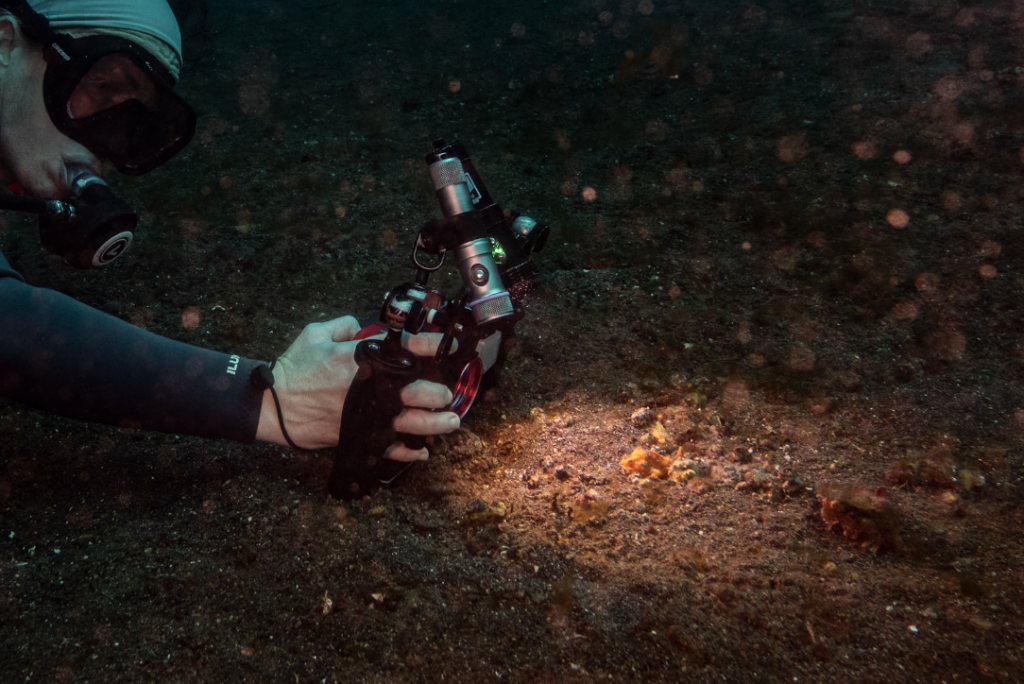
Starting with one light is simple. The TG7 on auto will colour balance automatically and do all of the difficult work for you, to get a nice crisp image. The disadvantage with fixed lights is that many subjects will move away or react to the light.
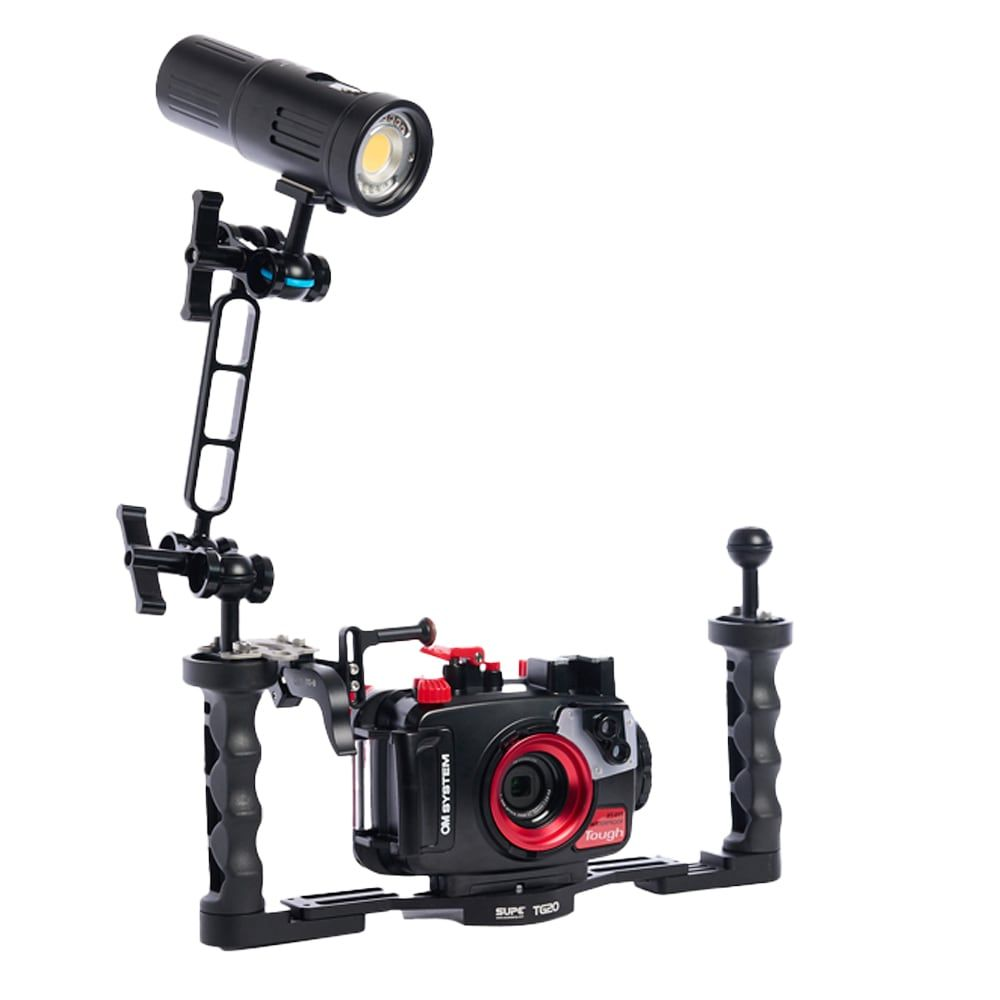
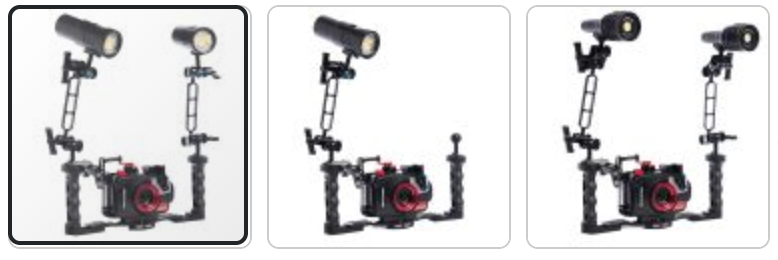
3b. Adding a tray and two lights
The advantage with two lights is that you can now light the foreground and background. This adds depth and contrast to your image, highlighting the subject and giving you more versatility.
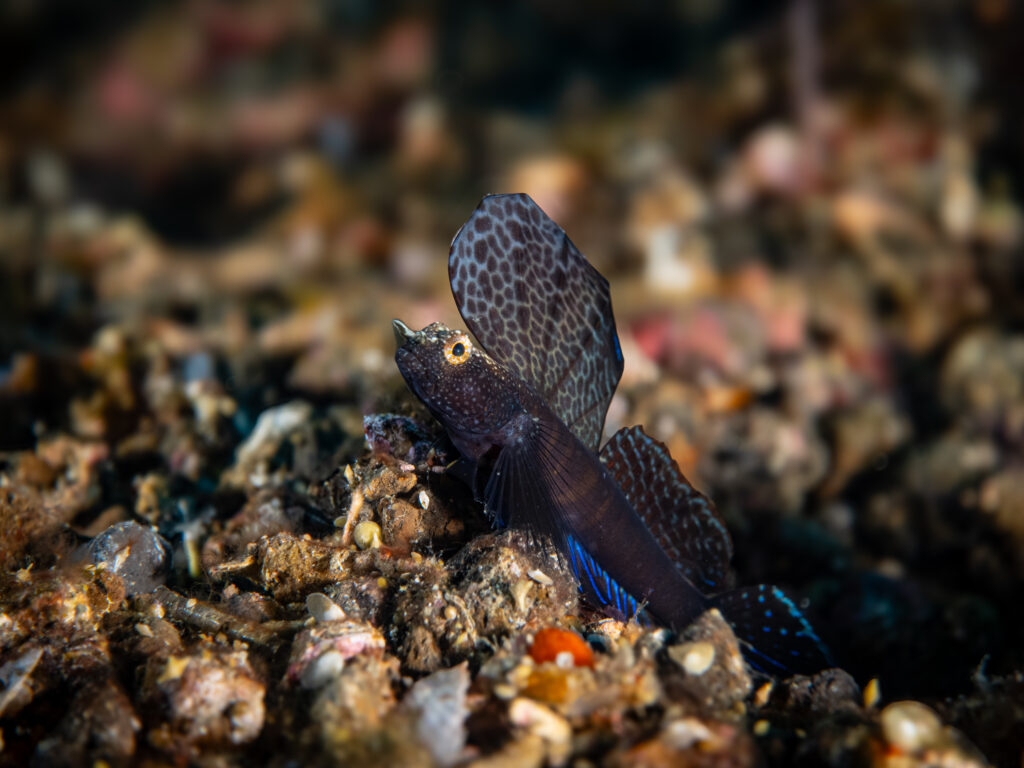
With two lights, you must learn lighting techniques and that itself, is a new skill.
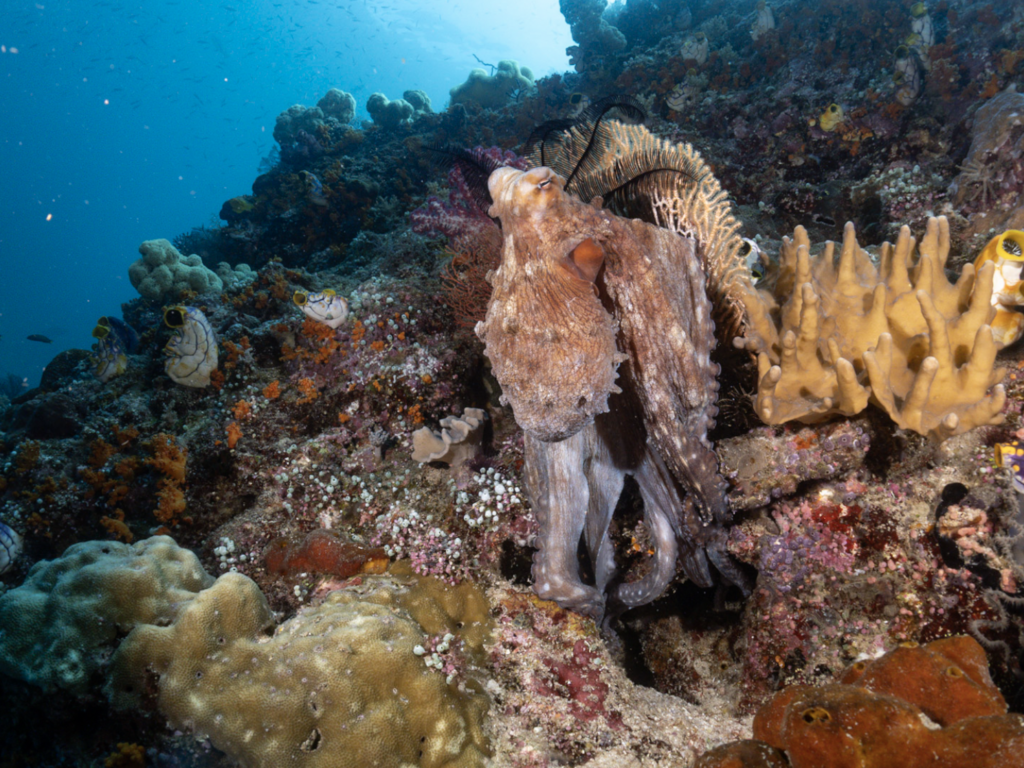
3c. Adding a tray with at least one strobe (flash)
These days, there are fantastic hybrid lights. Ones that give you a light that also flashes when the compact camera flash goes off.
This uses more battery as it depends on using the built-in flash from your compact camera. Usually the flashes require a fibre optic cable to connect the two.
Because these hybrid units are fixed flash brightness, you also must set your camera to compensate, depending on how close you are to the subject and how bright the environment is. I shoot 100% fully manual this way. I’ve had to learn to predict the camera settings (shutter speed and aperture) before I hit the shutter button. This takes a lot of practice.
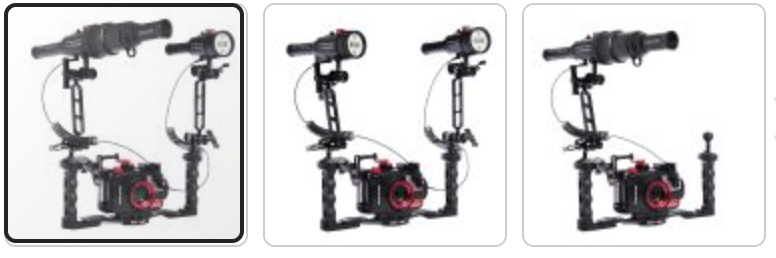
The advantage with these hybrid lights is that I can use light when I need it e.g. on a night dive / snorkel. I can also flash through a red light, which means I can observe natural behaviour of octopus and fish, and only illuminate for the photo for 1/200s.
Strobes are much brighter and some of them come with the ability to read your camera’s settings and adjust. A bit like ‘Though the Lens (TTL)’ metering on your land SLR/DSLR. Sometimes this means having an extra piece of gear attached to your compact to measure this.
Conclusion
At this point we’ve covered enough of the basics that you should be able to work out roughly what would suit you. If I’ve lost you in the latter parts of this article, then the setups being discussed may already be too advanced for your current needs.
Even if you’re a competent above-water photographer, underwater photography is a learning curve that requires discipline and techniques that are not customary in land-based work. This is why I would recommend starting with a simple one or two light set up, before advancing to something more complex.
However, your need to advance to this later, may dictate what you buy in the first instance. This is why it’s worth taking advice in any case.
I’ve grown my setup now to 31 parts, that when assembled, make up the whole underwater camera unit. Only one of those parts is the camera. Each time I’ve added parts I’ve had to relearn how to use the system. My partner still uses a TG7 with two lights and produces fantastic images. It’s more a matter of what suits you, than how complex the gear is. Understand the limits of your setup and your expertise and anyone can take beautiful photographs.

Tim Hochgrebe / Phil Gallagher at Underwater Australasia +61 (0)2 6680 9410 / +61 (0)2 6601 9074 / Mob: +61 403 803 083.